


Introduction
At our recent Code Camp, our keynote speaker was Iris Classon. She told us the inspiring tale of her journey into software development. Several of her stories struck a chord with me and reminded me of some of my own experiences. One part that stood out in particular was how she responded when she got her first exposure to computers and computer programming and how she really took to it and things just made sense.In my case, I was a little third-grader exposed to a Commodore Vic-20 for the first time when someone donated one to my school. The Vic-20 came with a manual that detailed Commodore Basic and that was all I needed to get started programming.
I am of the opinion that there are a number of people out there with an aptitude for programming that do not realize it because they have never had the chance. As I was thinking about this, it occurred to me that Microsoft is giving away everything you need to program (Visual Studio Express 2013 for Web) and host (free Azure web site) an ASP.NET web site. You do need a credit card to set it up, but it is definitely free.
If you are at all curious about programming, I recommend downloading Visual Studio Express 2013 for Web and getting started.
Download, Install Visual Studio Express and Configure VisualStudio.com
If you are a student, I recommend signing up with `https://www.dreamspark.com/`Microsoft's Dreamspark project and downloading the free Visual Studio 2013 Professional from them, but otherwise, just use free `https://www.visualstudio.com/en-us/products/visual-studio-express-vs.aspx`Visual Studio Express 2013 for WebWhen you start the download for Visual Studio Express, it will ask you to log in with your live.com account. If you already have one, go ahead and use that, otherwise create a new one.
If you are under a certain age, I think the age is 13, you need a parent's permission to set up your live.com account. The parent will be charged .50 as age verification. This is the only cost incurred on this entire walk-through.
Warning: There is no spending limit on this account once you enter it. As long as you use the free VisualStudio.com features and the free Azure web site feature, you will not be charged.
However, there is nothing (other than your desire to not spend a bunch of money) stopping you from making a few clicks and spending a bunch of money on a standard web site, a virtual machine, or any number of Azure services.
However, there is nothing (other than your desire to not spend a bunch of money) stopping you from making a few clicks and spending a bunch of money on a standard web site, a virtual machine, or any number of Azure services.
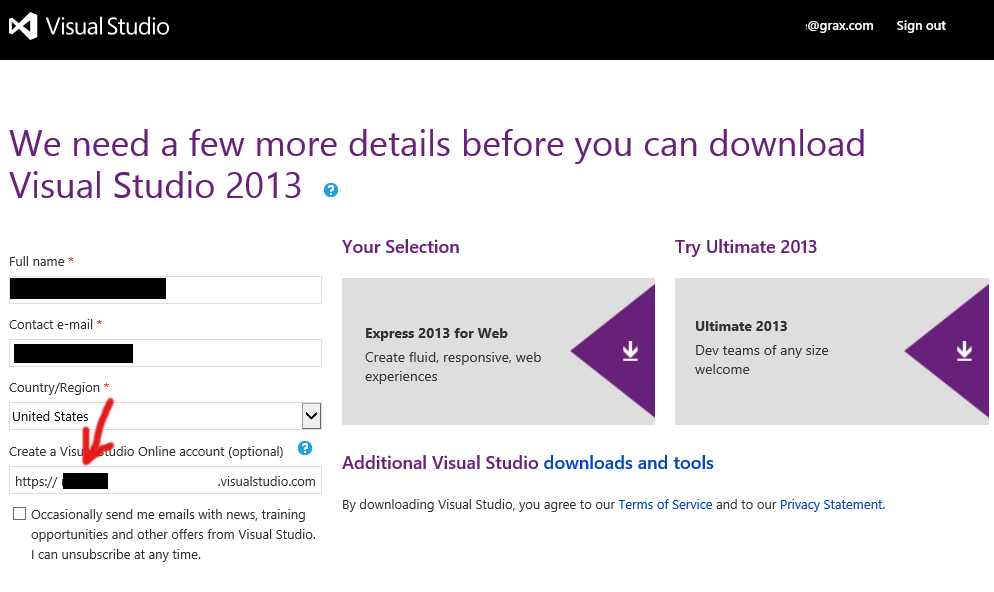
Create your Visual Studio Online account by entering a name for your account on the "few more details" screen. Say that we call our account "something" then the url for your account will be something.visualstudio.com. You will use this later on to tell Azure where to find the code for your web site.
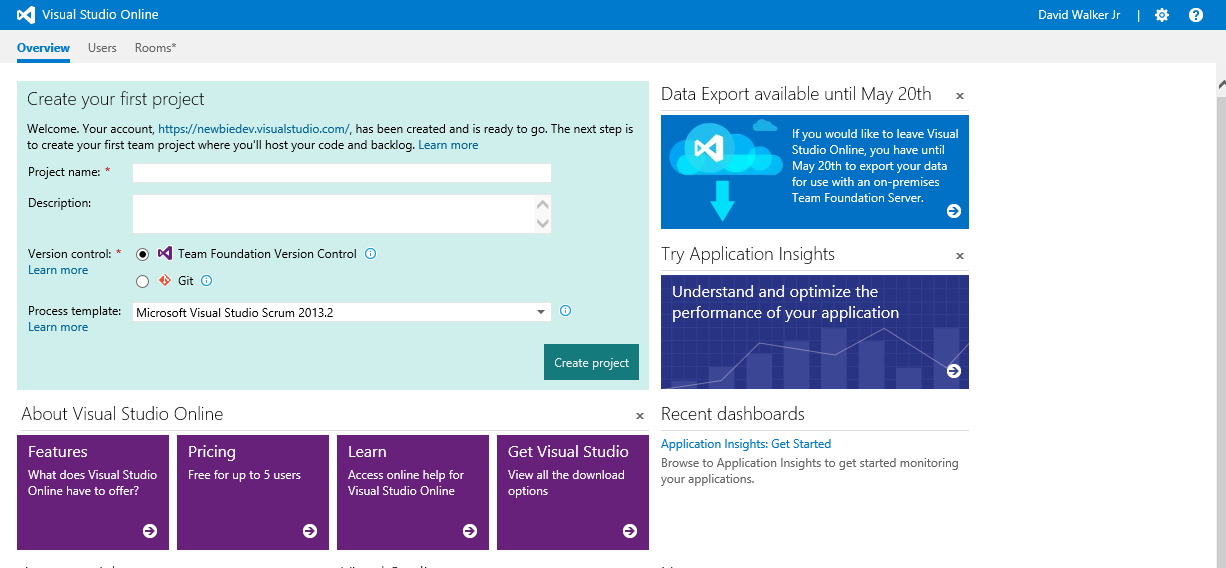
Create a new Visual Studio Online project from the something.visualstudio.com web page.
Complete the install of Visual Studio Express but don't open it yet.
Click the "Open with Visual Studio" button on your new project web page. This will open Visual Studio Express with a connection to your Visual Studio Online project.
Signing in to Visual Studio Express with your Live account is optional, but it will save your settings so that you can customize your Visual Studio environment and share the customizations between more than one computer.
In Visual Studio Express, click the File menu and select "New Project."
From the templates menu, pick "Templates\Visual C#\Web" and click on "ASP.NET Web Application."
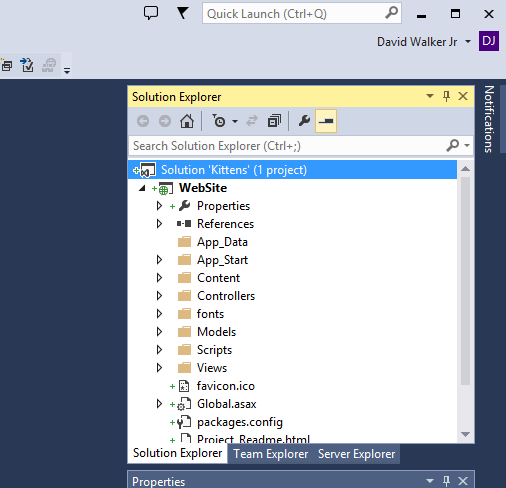
Give it a name, I usually just call mine "WebSite"
Solution: "Create new solution"
Solution Name: Pick something
Make sure that "Create directory for solution" and "Add to source control" are checked.
A popup will appear allowing you to customize your project. Pick "MVC" if you are not sure what to pick.
Click OK
A popup will appear asking you to choose source control. Select "Team Foundation Server" and click "OK" to accept the defaults on the next screen.
Find the Solution Explorer window on the right side of your screen. Press CTRL-ALT-L if you don't see it right away.
Right-click on the Solution and select "Check in"
On the check-in screen, enter a comment and click "Check in"
Configure Azure Free Web Site
Now go to https://portal.azure.com/ and log in with your live accountClick on "Sign Up for Windows Azure" on the screen that says it cannot find subscription
Enter phone number and Click Send text message to verify you are you.
Enter the code you receive and click Verify Code. It is easy to overlook this step.
Enter credit card information and press "Purchase". Trust me, you haven't spent any money yet (except you are underage and your parent spent .50 proving it).
At this point, you see a page listing your subscriptions. It shows only "Free Trial". You can use this subscription to test and experiment with all kinds of Azure services for 30 days.
However, we want to set up a free web site, not a trial web site. Click "Add Subscription" and select "Pay-As-You-Go", review your payment information and click "Purchase" (I know, you have clicked "Purchase" twice now for something I have been telling is free. Trust me. It is actually free.)
Now you should see 2 Subscriptions. "Free Trial" and "Pay-As-You-Go"

Click "Portal" to set up your free web site.

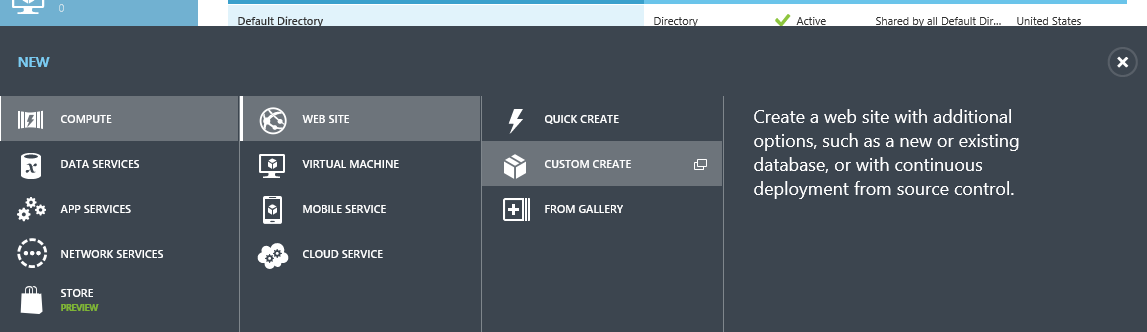
Take the little tour if you wish, but then click "New" from the bottom left of the main page.
Select "COMPUTE", "WEB SITE", and "CUSTOM CREATE" to create your web site.
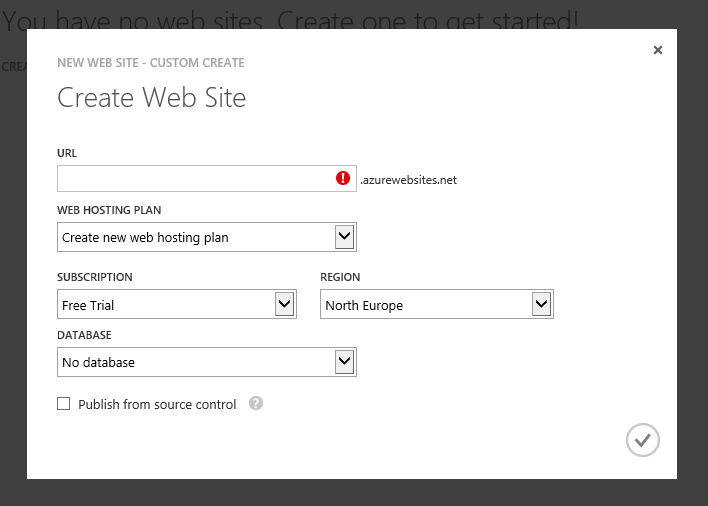
Enter the URL. something.azurewebsites.net Since this is a free web site, you will not be able to set the domain name to anything that azurewebsites.net, even if you own your own domain.
Leave "Web Hosting Plan" set to "Create new web hosting plan"
Select a reasonable region for you current location. I picked "East US" for mine.
Select "Pay-As-You-Go" as your Subscription.
Select your Database choice, if you know what you want, otherwise select "No Database"
Check the box "Publish from source control"
Click the Check Mark to create
"Where is your source code?"
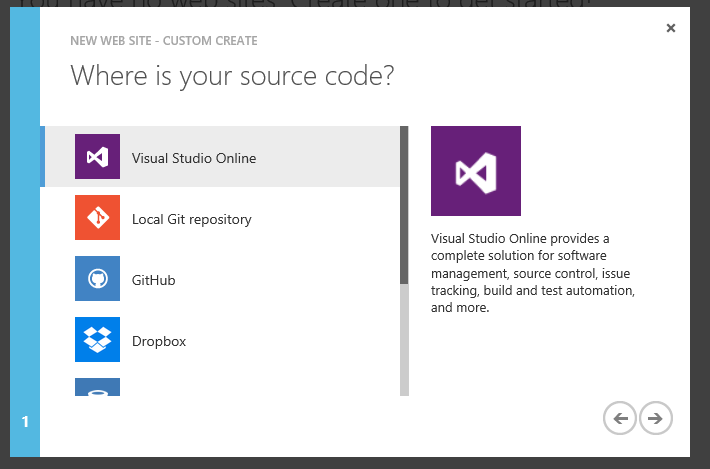
Click "Visual Studio Online"
Enter the name of you Visual Studio Online account and click "Authorize Now"
A screen will pop up, it may or may not ask you to log in with your live account and then you will get a "CONNECTION REQUEST" telling you that "MANAGE-PROD WEBSITES from Windows Azure" wants access to your project.
Click "Accept"
A screen will pop up asking you to select a repository. Select the one you set up earlier and click the check mark.
The build and deploy process will kick off automatically and will probably take about 3 to 5 minutes. Once that is complete, your web site is set up. You should see the default pages from your MVC web site when you visit the address of your site from your browser. Any time you make changes to your web site, go through the check-in process and it will automatically be deployed to your web site.

You now have Visual Studio Express 2013 for Web installed on your machine, your source code is safely housed at your VisualStudio.com site (you can add up to four additional users to your project), and your code is automatically built and deployed to your Azure web site whenever you check in. You are practically a professional developer already, all you need now is to learn to program.
Double-click on files to open and edit. Press the green triangle/play button to show the web page output in the selected browser. Right-click the Solution and select Check-in when your changes are ready for the world to see.
If you get stuck, search Google.com, Stackoverflow.com, etc or post a question here in the comments.
Good luck and get programming!